Status: Active
You have the power: Adding a clean 5V to your breadboard Step 2 of 5
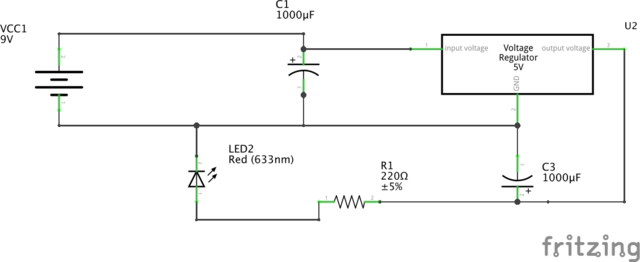
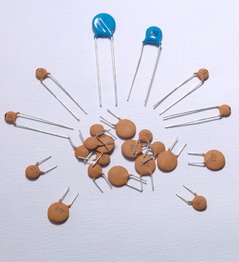
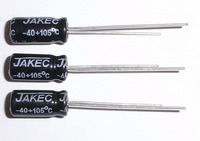
This relatively simple circuit involves wiring in some power. We need a regulated 5 Volts, which is supplied by the ubiquious LM7805. Though they could probably be skipped capacitor on the input and output lines really smooth out the power provided by the LM7805, which the 16MHz clock and the ATmega328P really enjoy. Its one of those things where if you are designing this circuit to be used in a wide variety of application or are spending money putting together a PCB it should be added to the circuit.
See below for the way that I add power to the breadboard.
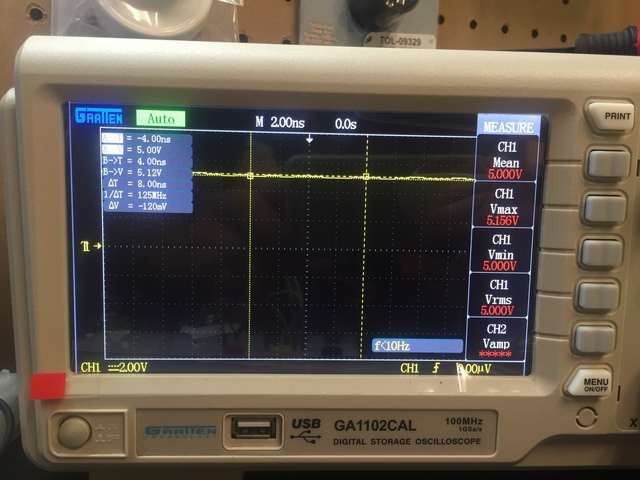
Just for posterity, here is a photo with the capacitors. Notice there is less dashed line at 5V.
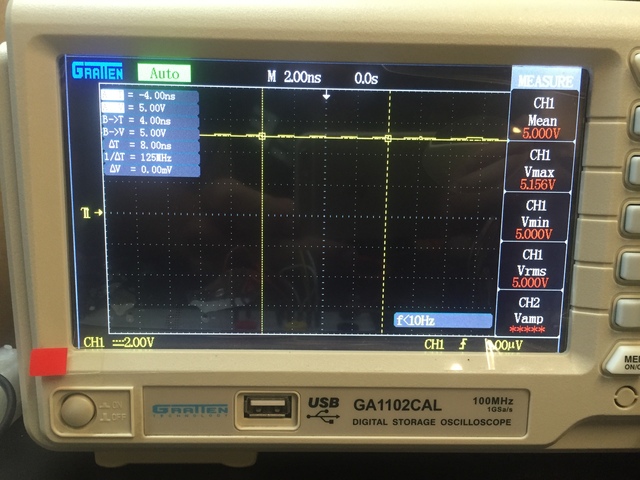
And here is one without the capacitors. Its hardly noticeable but it is just a little bit less smooth. The dashed line at 5V is a bit more noticeable. Its hard to tell when you are using a regulated power supply anyways.
The overall connections to the LM7805 goes:
Pin 1 -> Vin with a Capacitor inbetween Vin and Ground.
Pin 2 -> Ground
Pin 3 -> Vout with a capacitor in between Vout and Ground, I send this to the other side of the bread board. It is the blue jumper in the photo below. I then connect it to the positive voltage rail on the breadboard, which is the orange jumper.
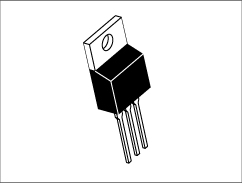
There is an attachment that shows the LM7805 Pinout.
Both of the capacitor grounds should be connected to ground with the positive side (the longer arm, or the side of the Cap without the stripe) on the Input and output lines respectively.
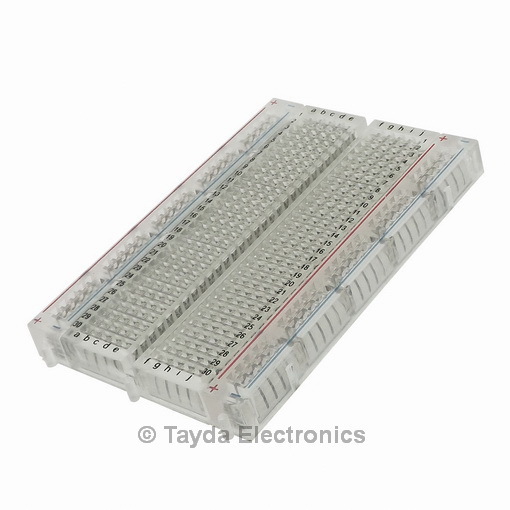
I don't like having Vin on the Positive Voltage line of the bread board, I usually reserve that for the regulated voltage. So the input voltage goes on a seperate line. In this case I have Vin on line 23 of the breadboard.
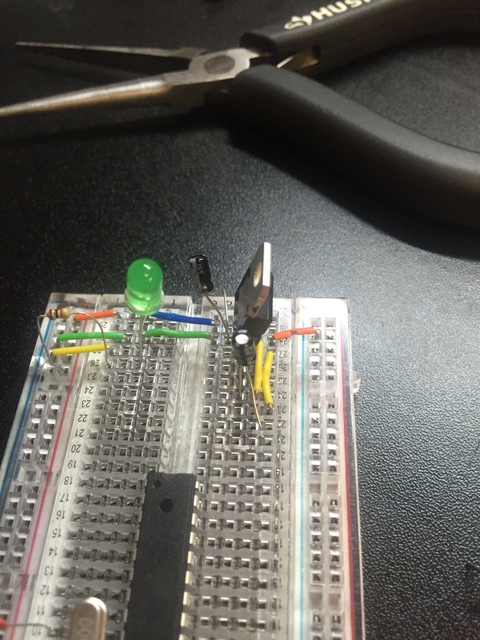
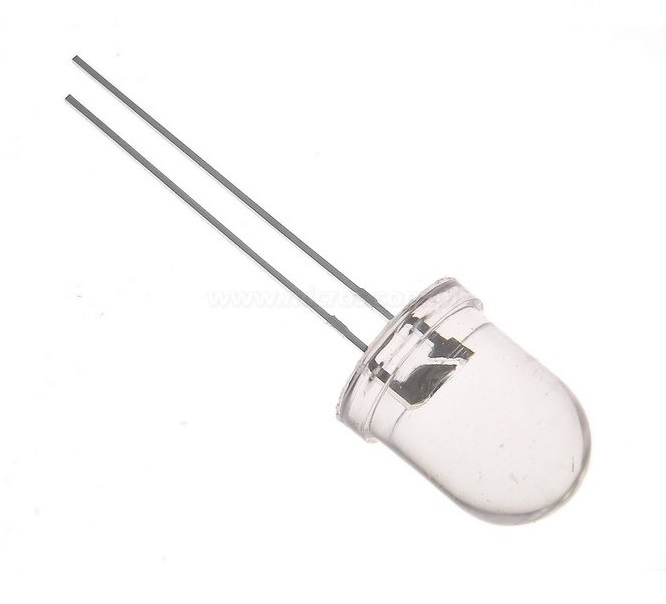
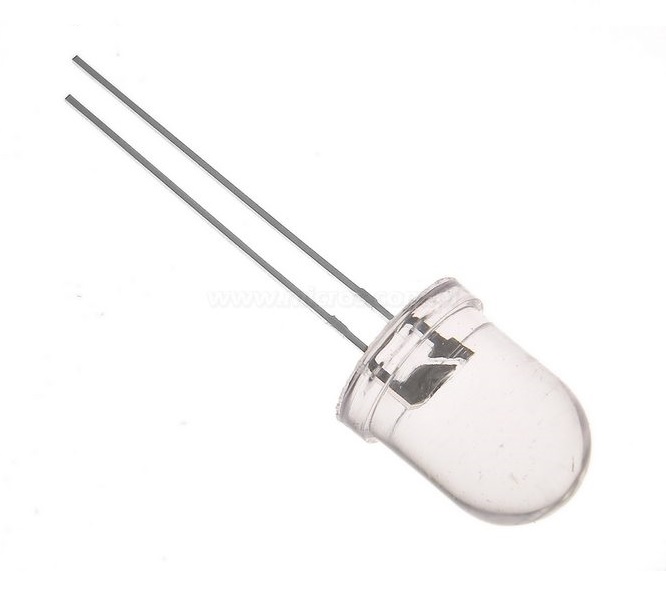
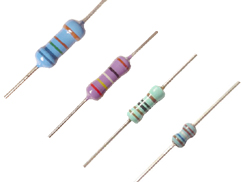
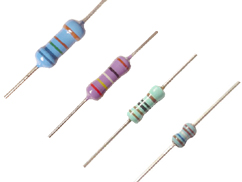
The LED is powered from the Positive Voltage Rail through a 10k Ohm Resistor and ground on the ground rail on the same side. The Voltage regulator is grounded on both sides of the bread board too. This keeps a nice even ground between both sides of the bread board.
Here you can see the input as the front yellow jumper while the back yellow jumper connect ground and the capacitor ground:
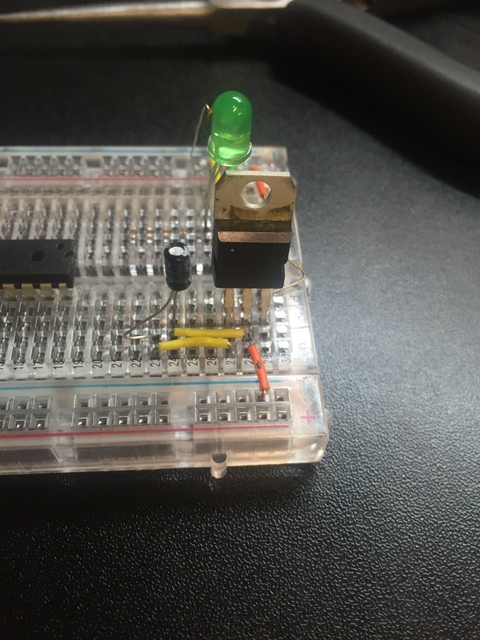
I also add jumpers between the Positive Voltage rail and the Ground rails on each side of the bread board on the bottom.
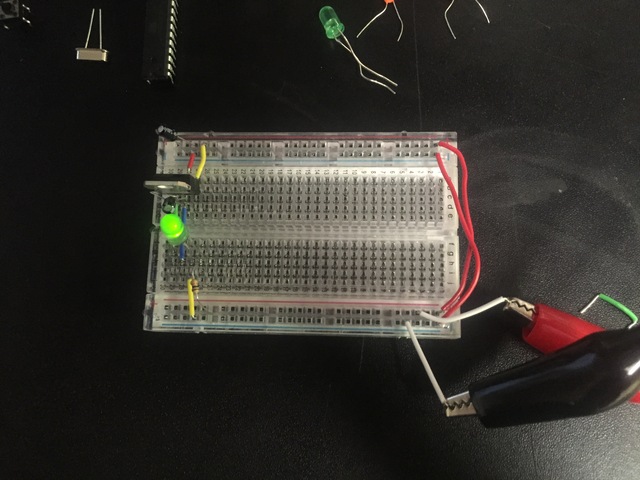
Below is a top down view of the entire circuit so far. At this point if you power the circuit your LED should turn on! If you don't have power to the LED keep working until you get there. It would also behoove you to check your positive voltage rail and ground rail to make sure they are at +5V and 0V respectively.
Here is a fritzing drawing of the circuit so far. Becuase of the nature of fritzing, some of the routes are around components.
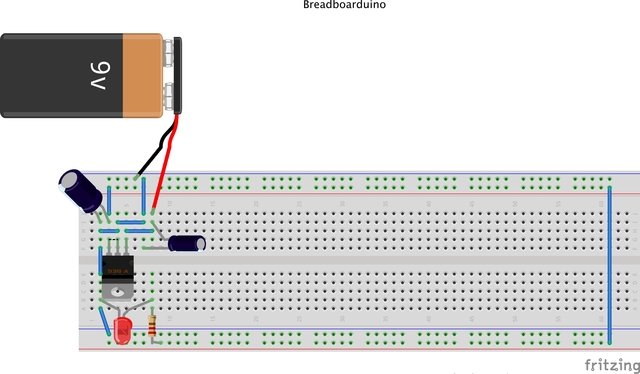
Here is a simple schematic of the the circuit.
