Parola for Arduino
Parola is an Arduino-based modular scrolling text display using MAX7219/21 LED matrix display controllers. The display is made up of any number of identical modules that are plugged together to create a wider/longer display.Steps
Categories
Status: Active
Assembly -Edge Connectors Step 3 of 5
All items, except for the edge connectors and the LED matrix, are straightforward to assemble. The recommended order of assembly is:
- Edge connectors
- Resistor
- Integrated Circuit – insert as per silk screen orientation, without IC socket
- Capacitors – note polarity on the 10μF electrolytic capacitor
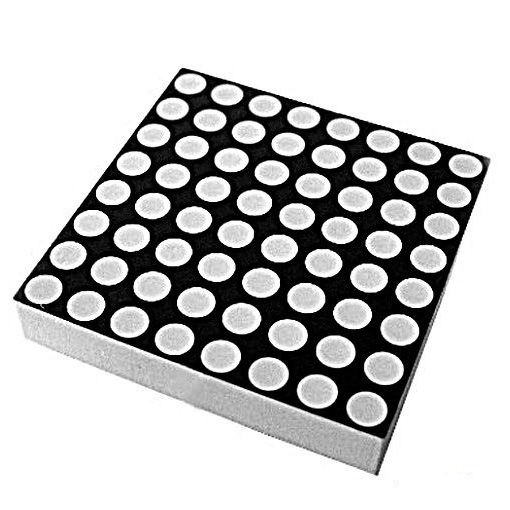
- LED matrix, with socket attached
The Edge Connectors
This process is easiest if two modules are assembled concurrently.
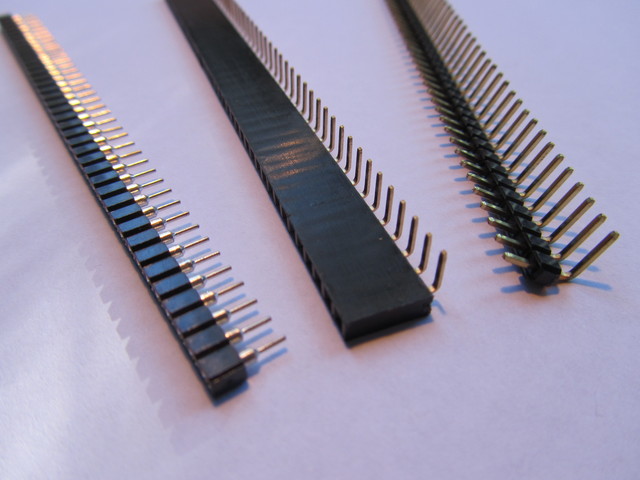
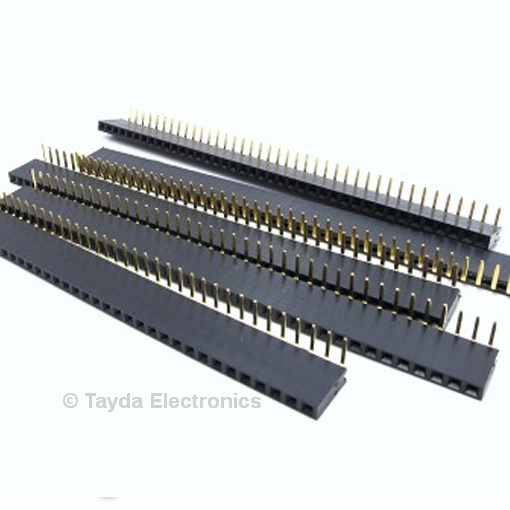
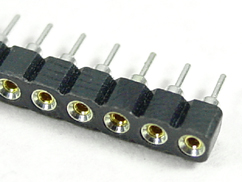
- Cut 5 pins from the female edge connector. The strip need has to be separated in the middle of the 6th connector. Use sandpaper or a file to neaten up the jagged cut end.
- Do the same for the male connector. In this case, the separation is between pins.
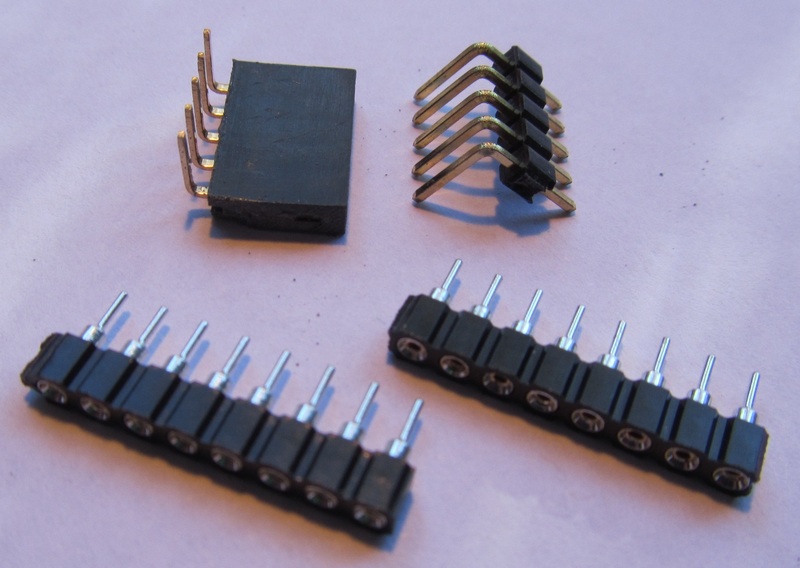
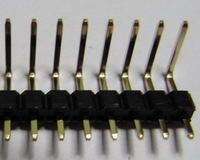
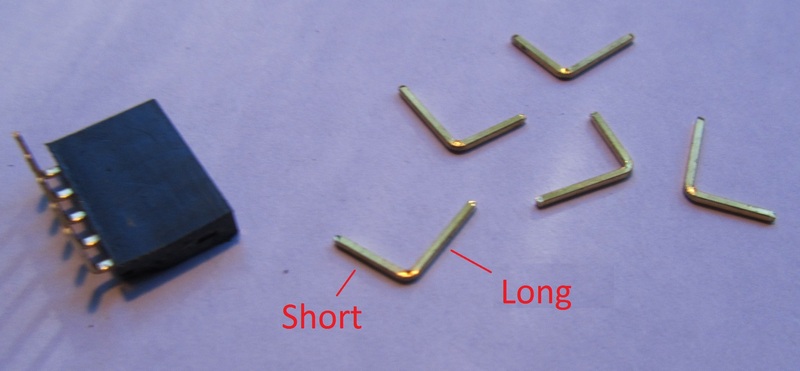
- Remove the angled header pins from their plastic matrix. They should slide out relatively easily. If they don’t, use side cutters to break away the plastic material. You will be left with 5 right angle pins with one leg slightly longer than the other.
.
-
Insert the shorter end into the socket so that the final subassembly looks like image below.
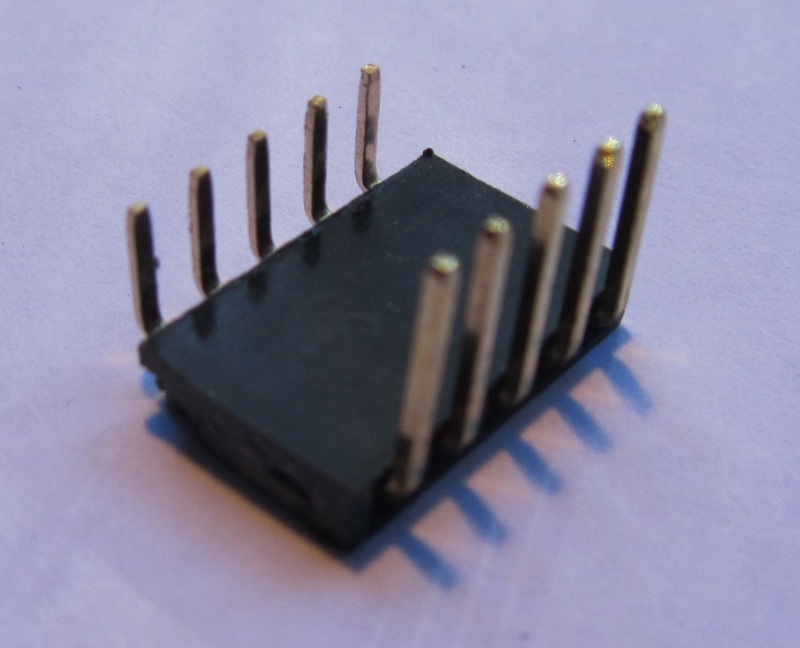
-
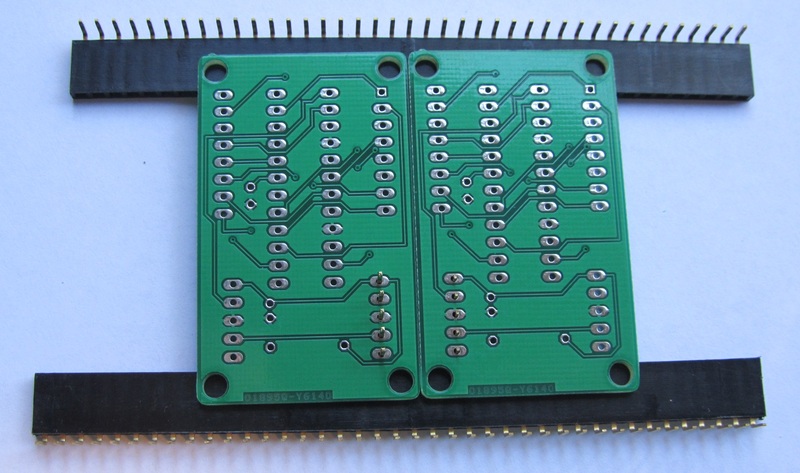
Insert the connector subassembly into 2 inverted PCBs laid alongside each other, resting on long socket strips. This ensures that the connector assembly remains flat and parallel to the PCB, as the spacers are the same thickness as the connector.
-
Double check that the PCBs and the connectors are inserted in the same direction as modules already assembled, and that the PCB is really upside-down.
-
Check that the two PCBS are lying parallel to each other, either touching or with a consistent small (< 1 mm) gap along the common long edge. Ensure this gap remains the same while you solder the edge connector in place.
