Joule Thief Flashlight
A cool LED flashlight with an ultra long battery life.Steps
Categories
Status: Active

Step 3: Soldering The Circuit Step 4 of 6
Now it's time to break out your soldering iron!
Here is the whole schematic. Note that it shows the flat part of the nail as the "loop side" ie, the side that was a loop before it was cut into 2 wires.
Be sure to mark the two different coils before you beguin! You can do this by checking for continuity between 2 leads and marking the leads from one coil with tape.

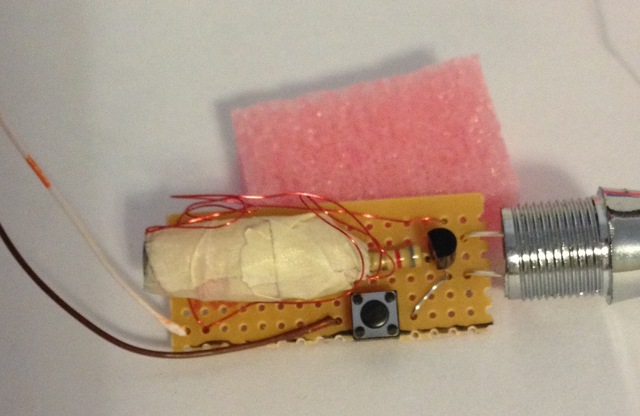
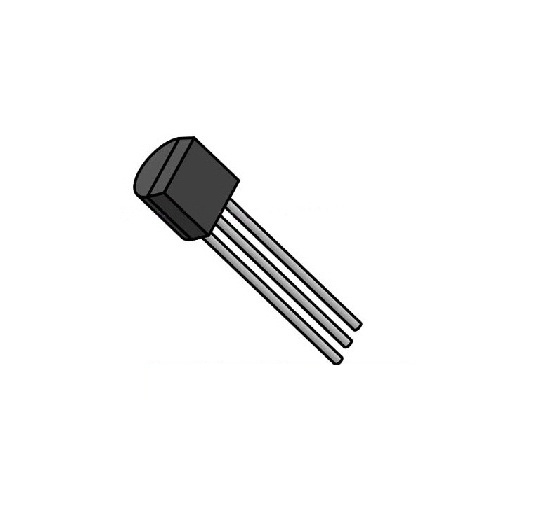
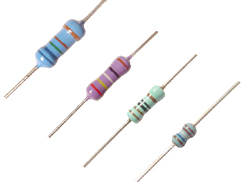
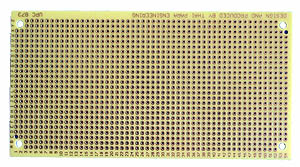
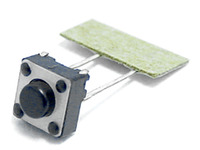
Start by cutting a small piece of prototyping board (Mine was 16 holes wide and 6 holes tall). Next, arrange the transitor, switch, and 8.2Ω resistor on the protoboard like the schematic shows, and solder the circuit together:

Next solder the coil, the led, and the battery leads to the circuit. Double check the continuity of the coils before soldeing them into place. Also, remember that the 2 leads near the flat end of the coil are the "loop side" as shown in the schematic. Here is what it will look like when finished: