Arduino PID Controller Shield
This easy-to-make shield converts your Arduino into a full-featured PID controller.Steps
Categories
Status: Active

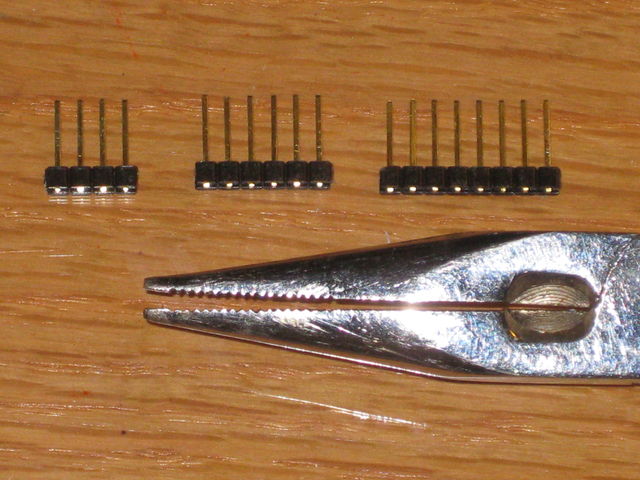
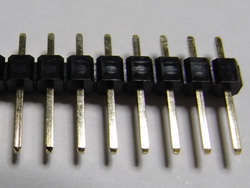
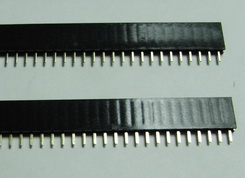
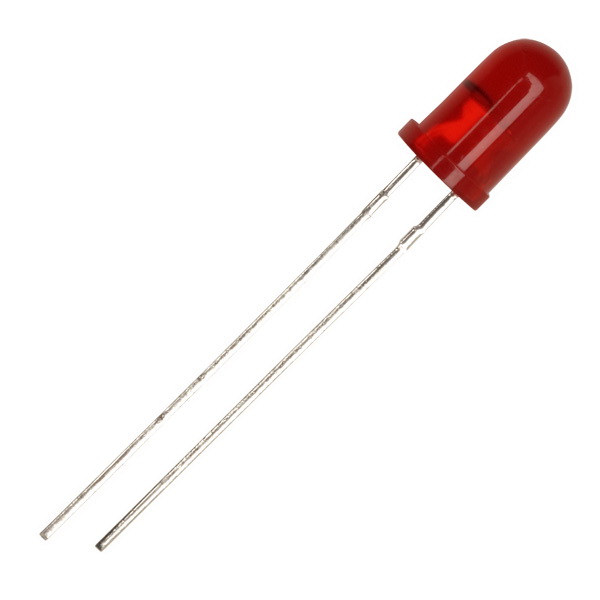
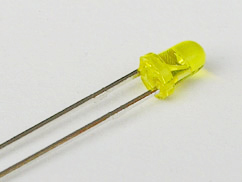
Pin headers Step 4 of 15
Now flip the stripboard over the long axis. The short edges on the left and right should stay on the same side, but what was the front edge should now be at the back and the copper tracks should now be on the bottom. Prepare the male headers by cutting lengths from the strip: one each with 8, 6, and 4 pins. For each male header, press down using needle-nose pliers to slide to the pins to the end of the plastic retainer. Put the headers in the positions marked "M" below, with the plastic part flush with the top of the board, and solder the pins to the copper strips on the reverse. Then cut the female pin headers, two with 6 holes and two with 3 holes, and solder them in the positions marked "F" below. A good trick for lining up the female headers straight is to fix them to a male header strip. Make doubly sure the headers are in the right place. Once all the pins are soldered they are devilishly difficult to remove.