Categories
Status: Active

Planning Step 2 of 8
Plan out the schematics for the strip board. This is crucial unless you want to use a breadboard or etch your own PCB.
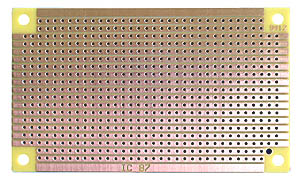
Not having used a silver strip board, I struggled a little bit with soldering and properly laying out the circuits. I find the copper strip boards are a little easier to solder and recommend getting a cooper strip board if you have not used the silver strip board before. Copper boards are available at Tayda electronics if you decide to go that route.
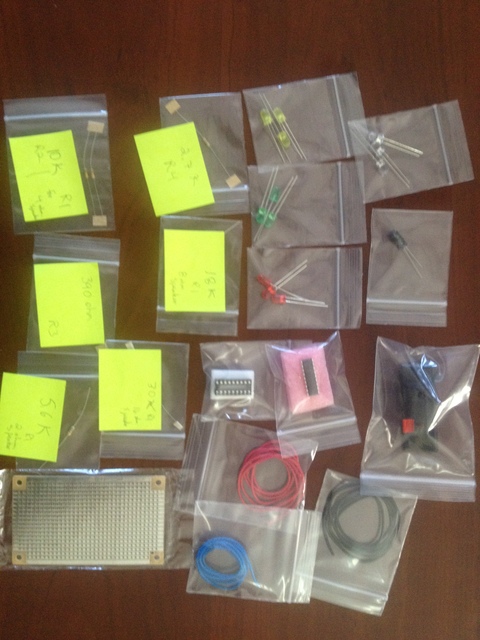
Once you are confident in your plan, it might be a good idea to layout your supplies and visualize the completed kit before starting. I laid out and cut my connecting wires before doing any soldering. I found a couple tricky connections and ended up opting for dedicating two strips the positive power supply and one negative strip.
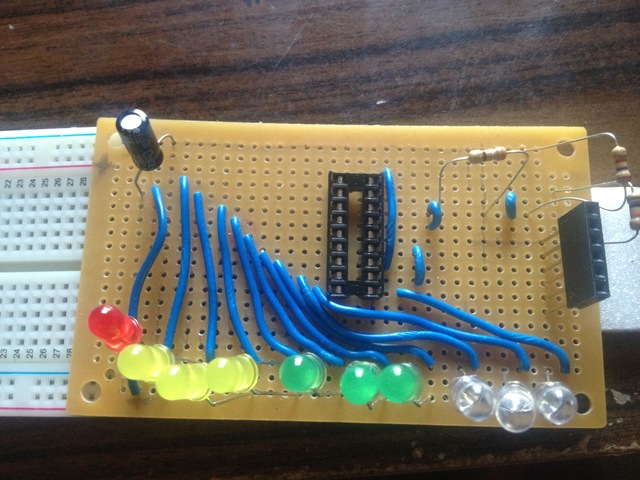
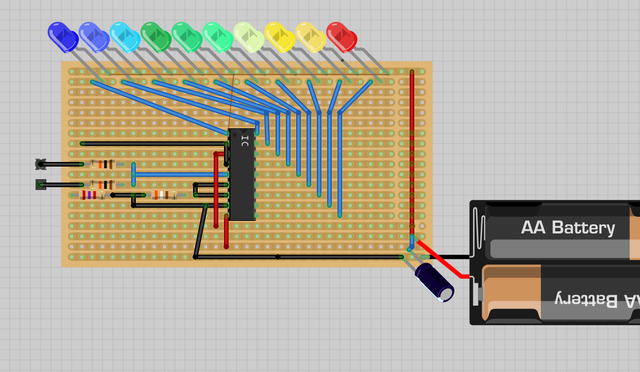
Layout the circuit before you begin soldering on the strip board. I did it manually, but a program like Fritzing is very useful. The fritzing layout below is not accurate but demonstrates the importance of planning the circuits and deciding where to cut strips to fit all the pieces.
Once you are confident that there will be enough space on your board for the circuit, you are ready to move on to the next step.