Categories
Created by Andrew Jones
Status: Active
Status: Active
Steps To Build Step 3 of 3
- Put a blob of hot glue in the center of a wide side of the battery.
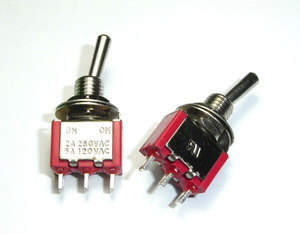
- Place the toggle switch on the blob of glue so the "lever" part is not covered at all.
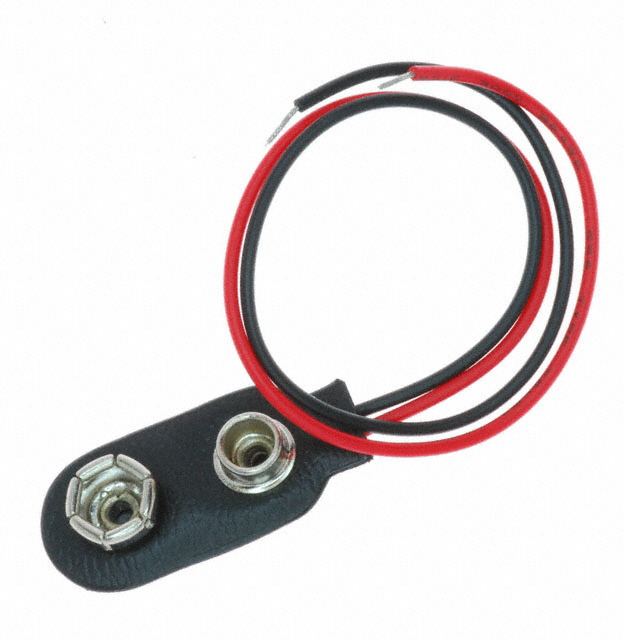
- Put the battery clip on, line the red (positive) lead up with the center pin on the switch, trim the wire a little longer than needed to reach that length.
- If using solder, solder the red (positive) lead to the center pin. If not soldering, wrap wire in center pin - make sure there is a good connection and put a dot of glue on that center pin.
- Solder or glue on end of the resistor to the right pin of the switch.
- Glue your LED of choice (white works best) to the bottom of the battery so the leads point up towards the side with the switch.
- Solder or glue the other end of the resistor to the long (positive) lead of the LED.
- Trim the black lead of the battery clip so its a little longer than needed to reach the short (negative) lead of the LED.
- Glue or solder that connection as well.
- Make sure no exposed wires (such as resistor leads or LED leads) are touching the battery or each other.
Enjoy!


